Top 5 best affordable drawing tablet 2017

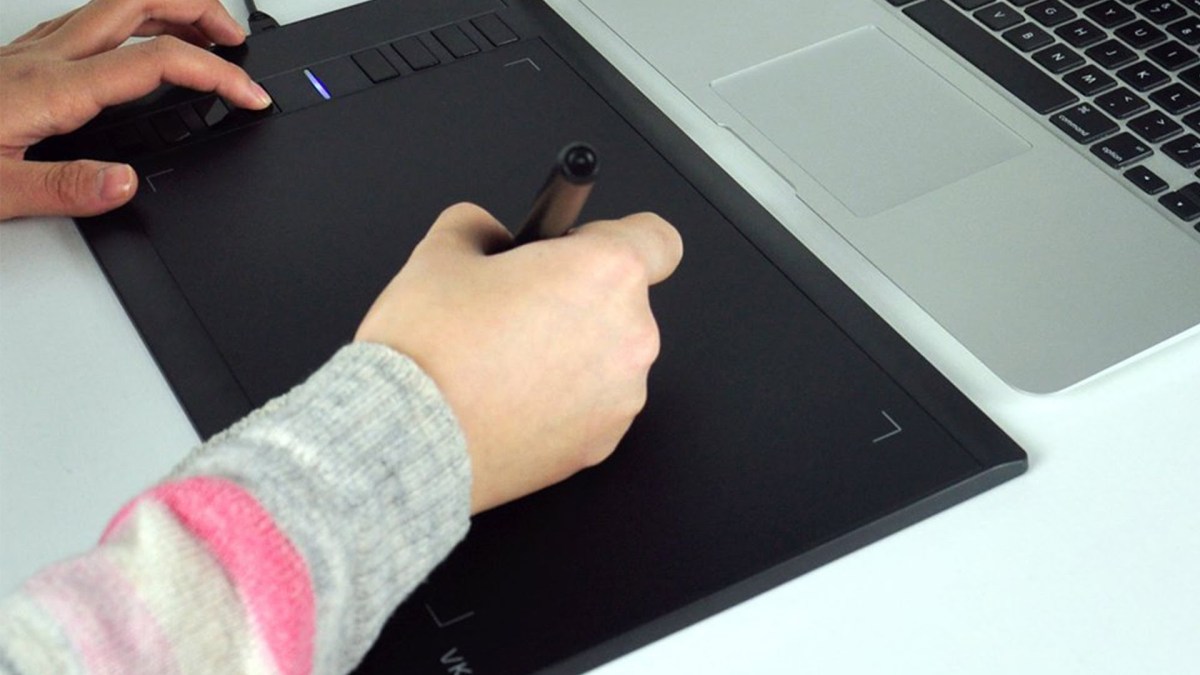
Drawing tablets are an absolutely essential piece of kit these days for anyone looking to do animation

Yes, style pills are an important part of equipment these times for anyone looking to do movement or style work (when was the last time you tried to attract something with a mouse?

Best graphics tablets less than $100

Add to this the proven reality that they also come with some awesome functions and allow for stress level of sensitivity, and you can see why they are taking over. The problem is, how do you select from all of the ones that are on the market? Sure, we’d all really like a Wacom Cintiq, but at several of money they are out of most people’s cost variety. Therefore, I’d like to go through what I consider to be the 5 best style pills that you can make up for less than $100…and most of them are quite a bit under that.

Top 5 best affordable drawing tablets:

  1. Wacom Intuos Draw CTL490DW

Wacom Intuos Draw CTL490DW

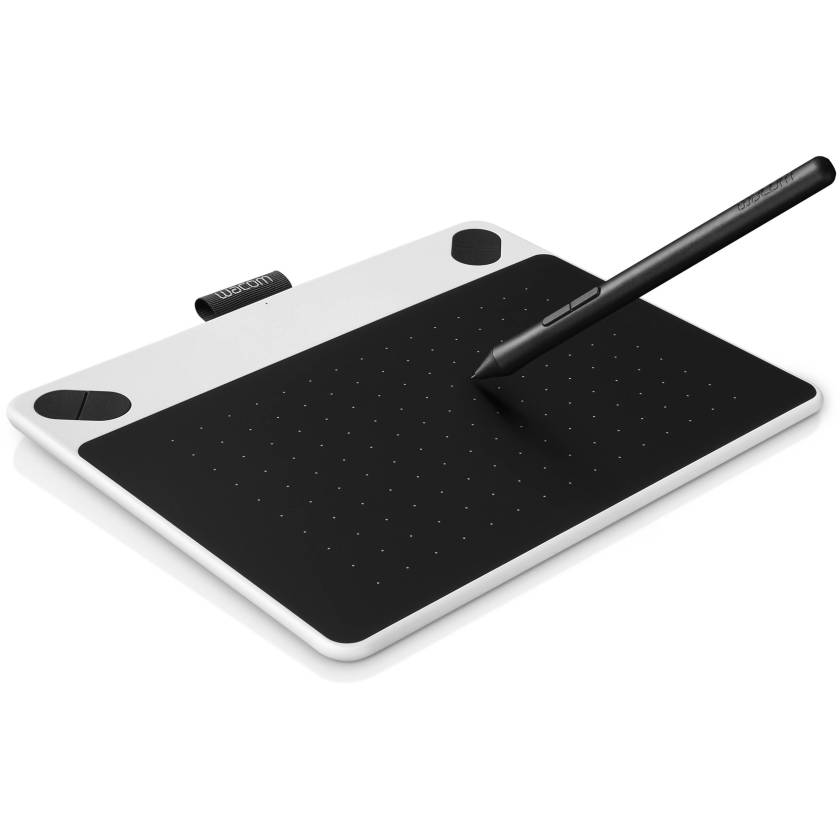
For performers of all stages who want to take their abilities into electronic world without emptying your bank account, the Intuos Draw CTL490DW electronic illustrating and style product by Wacom just may be the way to go. The Intuos Draw performs with many well-known style and movement applications and the product can be set up for either remaining or right-handed use. Here you can know how to learn draw step by step.
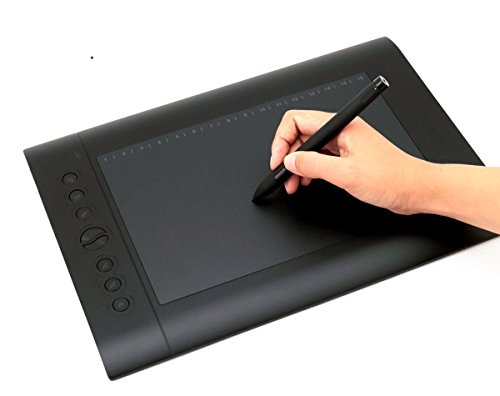
  1. Huion H610 Pro

Huion H610 Pro

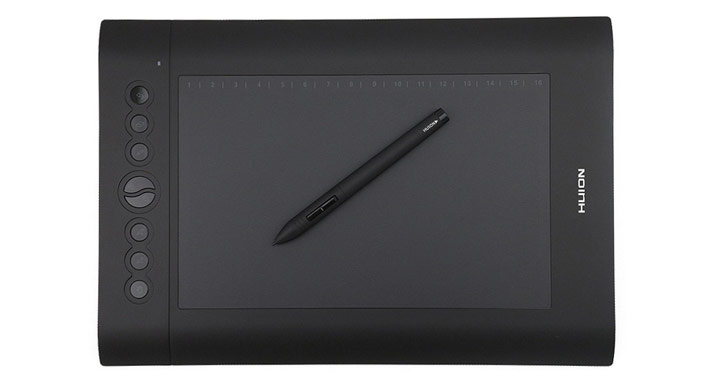
With a large (10 by 6.25 inch) illustrating surface area and a cost-effective cost ($72.99), the Huion H610 Pro is a cost-effective substitute for performers of every level of encounter.  It is relatively easy to set up via the associated with CD and on-screen guidelines, and performs with with most style application such as Color, Photoshop and others.  The pen is standard rechargeable and allows for accurate management of the pointer so that you can get a clear line for specific illustrating.

  1. Wacom ONE CTL471

Wacom ONE CTL471

The Wacom ONE CTL471 is entering substitute for those performers who have only a little room. At only a 8.3 x 5.8 inches extensive, this product provides all the quality and management you want in searching for pen within a smaller surface area. Despite the small monitor dimension, a wide-format effective area still allows for more time pen swings and a relaxed illustrating encounter.

  1. Ugee M708 Graphics Tablet

Ugee M708 Graphics Tablet

From Ugee comes the M708 Visual Drawing Tablet. This product, at just $59.98 retail store, is quite cost-effective and provides all of the options you’d anticipate. The product can also be designed for both left- and right-handed use.

  1. Turcom TS6610

Turcom TS6610

The product comes with 8 show important factors and 16 personalized operate important factors that put the most popular guidelines of most style applications at your convenience and allow you to change from one system to another quickly.

How To Learn Drawing? The Beginner’s Guide

The best thing to do is to draw simple, perspective objects. It is necessary to know what a perspective is?

You’ve always wanted to take more time to draw, but for some time you’ve decided to take it a little more seriously: Finished the scraps, finished to stay in his corner. So it’s decided; You have finally taken your courage with both hands, and you are ready to move up a gear. What may have slowed you down is that somewhere you never believed it. You may have always said that talent is innate, that it is favored by genetics, that it is reserved for others (yes you know, your little comrades whom you watched desiring to draw in college or high school) . Perhaps you think you have no talent and that the drawing is reserved for the elite. It’s nothing, just go ahead.

How To Learn Drawing? Step By Step Guide

The Tools You Need to Use

How many times I had to wonder what was the technique of my favorite artists, what tools they used, what paper, what table, what ambient temperature they worked, what cereals they ate in the morning, what was the color of their cat black? Blah blah blah blah. I now know one thing that was repeated to me often but which I did not want to hear for very long:

The tool does not make the artist.

A small sentence that says a lot. Believe me on my word. You only need three tools to start:

  • A wooden HB pencil (and pencil sharpener)
  • A sheet of A4 paper
  • A spacious, solid and comfortable support

Consider that this advice is valid for the next 2 years. If you really want to learn how to draw correctly and without veiling your face, it is only real. Obviously, it is not very serious if from time to time you change media during this period. The main thing is that you take pleasure in doing it, but keep in mind that the pencil is the tool of choice to improve in drawing.

For amateurs, I have a list of drawing materials that I use or have used for a long time.

The first 2 years it is best to draw 90% of the time with a HB pencil.

I already see some asking me: “and gum?” “. I advise you to use the eraser only if you spend a lot of time on a drawing, and just to erase some small details. Do not erase your entire drawing. Instead, take a new sheet and try again. I know what some will say to me: “we must think of our friends the trees”;

However, trust me on this: it is all the more harmful for the environment to consume gums.

Prefer thin sheets when you first start.

The paper machine (printer sheet), will do very well at the very beginning. Concerning your drawing table: if it is your desk, make a maximum of space on it, even more than is necessary at first:

To be comfortable on your drawing table, leave an empty surface corresponding to 8 sheets A4, minimum.

This space will allow you to put your elbows and turn the sheet whenever you like. Not to mention that the more space we have, the more motivated we are to work (note that it is not only worth drawing).

The environment of Your Drawing Time

If you are at home, pause your mobile phone, isolate yourself if you are not alone. Close the door, and if you are still at Daddy’s and Mom’s, put a small sign: “Do not disturb please: I draw great stuff! “Or” do not disturb SVP, artist in training “, or whatever you like 🙂 Better to have a maximum of light: a desk lamp (minimum 25W) + a ceiling lamp (minimum 100W). Turn your desk lamp so that it does not project the shadow of your hand on the drawing. The color of the light does not matter if you draw in pencil (it will have more to use colors).

And if you want to use direct sunlight, try to pass it through a white curtain to diffuse it lightly (a white sheet will do the trick). Prefer to work with the sun coming from opposite, especially if you have nothing to diffuse it. If the weather is cloudy but bright, it is an ideal time to draw: no need for artificial light! Invest in a good office chair with wheels. We can not imagine the repercussions that this may have on our drawings. Hence the expression I have just invented:

“A well established buttocks, wealthy designer”

What to draw first?

You don’t know what to draw, and of course, you have a HUGE urge to start with complex objects to get the full view. Stop it! This is a very bad idea.

The best thing to do is to draw simple, perspective objects. It is necessary to know what a perspective is, therefore:

Before you draw anything, you need to know how to draw a cube in perspective.

It’s pretty, Pit, but I already know how to draw a cube in perspective … Oh yes? If so you should know:

  • Draw a line of horizon (line of the level of the eye).
  • Correctly place your leak point (s).
  • Build a cube in diving and low-diving.
  • Place a sphere in this cube (and any other simple geometric form).
  • Draw a curve on a plane in any perspective.

After reading this mini-guide and after practicing a minimum you can move on to more complex objects.

Do not skip steps or you will get discouraged in no time. (In the space of 7 years, I almost gave up at least a good twenty times)